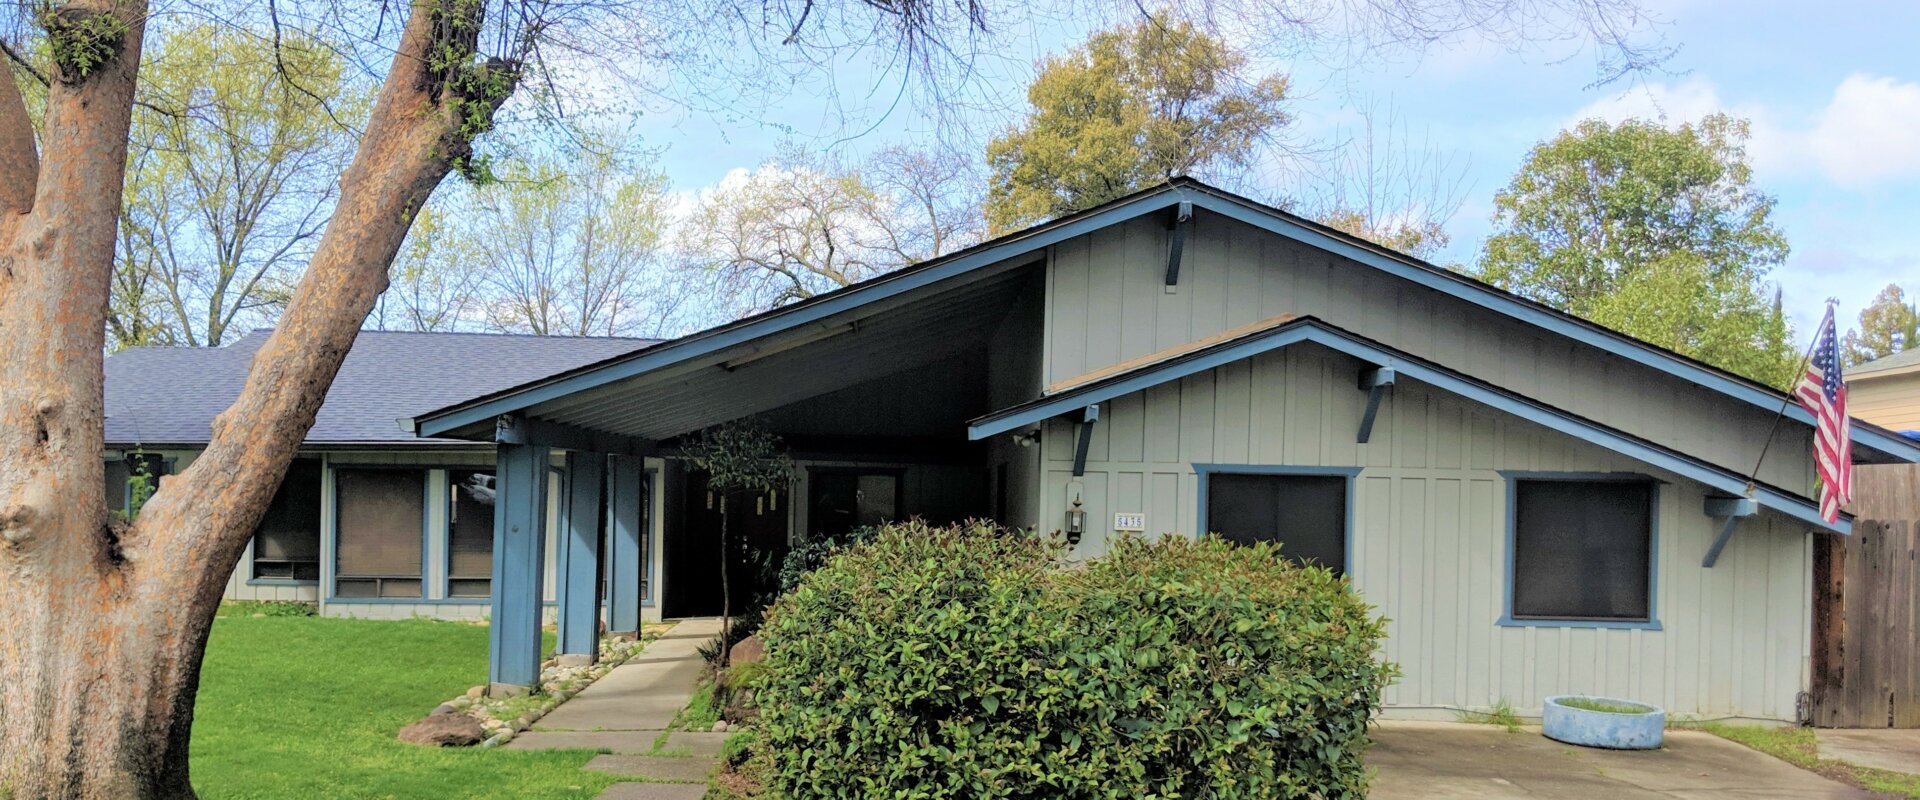
Taking real estate photos is one thing. Taking photos that actually help you sell your house faster takes some strategy. Professional real estate photos can help you find a buyer 32% faster than a listing without professional snaps. Does that pique your interest?
Fortunately, taking professional-level photos doesn’t necessarily mean hiring an outside. You may be able to tackle the project on your own with a good smartphone and the right angles. Here are some tips for taking real estate pictures for a MLS listing or to share with potential investors (like us) that highlight your home’s best assets.
Top Tips for Taking Real Estate Photos that Sell Your Home
1. Get a Wide Angle
A close up of your kitchen island or fireplace might seem like a great idea, but wide angle shots do a better job of selling your property. You want to be able to see every detail in the room. For instance, instead of photographing your bathroom from inside the door frame, crawl into the tub in the corner and take a wide-angle shot of the room. This looks more dramatic and tends to be generous in regards to showing how spacious your room is. No vertical photos! If you don’t have a professional, wide-angle camera lens, use a smart phone with a wide-angle or panoramic features.
2. Pay Attention to Lighting
Taking photos at night? No way. You want to leverage as much natural light as possible. Shadows and poorly lit rooms make the space seem sad — that doesn’t really inspire a lot of offers. Whenever possible, you want to shoot with the sun behind you. This better illuminates the colors in the room. Shooting with full sun allows for more even lighting. Stuck shooting a space with only artificial lighting? Go with the brightest, cleanest bulb to best mimic a natural light source.
3. Show Window Views
You have a great view from your kitchen window? Make sure it’s in your real estate photos! When you’re figuring out where to shoot your wide angle from, try to position yourself so that the window is in full frame. In spaces with a mirror, you can also get creative and make sure the reflection in the mirror showcases the view from the window. If you can catch a sunset or sunrise, all the better. Avoid shooting photos on a rainy day or at night when you can’t really tell the story of how good your backyard looks from the den picture window.
4. Repaint First
Neutral colors tend to shoot better and more true-to-color than bright colors. If you’re already considering painting your bedroom from bright pink to light gray, do it before you take photos! The wall color matters more than you might think. Light colors also help light reflect off the walls and can give the appearance of more space. Dark colors, when caught on film, might make a bedroom or bathroom seem tinier than it is in real life.
5. Choose a Focal Point
It’s not all about the wide angles and the fresh paint. You should also choose one to two focal points that make the room stand out. That might mean moving some furniture around temporarily so that it can be prominently featured in your pictures. The corner of your room can also be a focal point. If you can’t keep the camera perfectly horizontal, try a tripod! Or, create a makeshift tripod using a ladder and a few old textbooks — whatever gets the job done and keeps the camera steady while you line up the perfect picture.
What’s better than good real estate photos? Selling your house in person! If you want to avoid the MLS and sell to an investor, give California Family Homebuyers a call. We can give you an assessment of your Sacramento area home and let you know if we’re interested. If we make an offer, we may close as fast as one week!

